How to Achieve Glass Skin: A Step-by-Step Skincare and Makeup Guide

Glass skin describes a fresh, smooth-looking complexion with a hydrated glow. The effect comes from consistent skincare, healthy skin-barrier habits, and makeup applied with restraint, rather than from having perfectly poreless skin.
What Is Glass Skin?
Glass skin is a skincare and makeup finish that looks smooth, hydrated, clear, and luminous. It does not mean eliminating pores, fine lines, blemishes, or natural texture; the goal is healthy-looking radiance that still resembles real skin.
The look is often associated with Korean skincare because it emphasizes gentle cleansing, hydration, layered lightweight products, and daily sun protection. A simple routine can work just as well as a long one. Your results depend on skin type, genetics, climate, product tolerance, and consistency.
Think of the finish as a balance between moisture and reflection. Skin should feel comfortable and look supple, while excess oil, heavy shimmer, and thick layers can make the complexion appear greasy instead of luminous.
Step 1—Cleanse Gently
To cleanse gently, remove makeup, sunscreen, and buildup without leaving the skin tight or squeaky. A mild cleanser helps prepare the skin while protecting the skin barrier, which supports comfortable hydration.
In the evening, use a first cleansing step such as micellar water, cleansing balm, or cleansing oil if you wear makeup or water-resistant sunscreen. Follow with a gentle cleanser and rinse with lukewarm water. Massage with clean fingertips for around 30 to 60 seconds, then pat dry with a soft towel.
In the morning, many people need only a gentle cleanser or a water rinse, especially if their skin feels dry or sensitive. Oily or acne-prone skin may prefer a low-foam cleanser that removes overnight oil without aggressive scrubbing.
- Choose fragrance-free or low-irritant formulas if your skin reacts easily.
- Avoid very hot water, rough washcloths, and repeated cleansing.
- If your face feels tight after washing, the cleanser may be too harsh or the water may be too hot.
Step 2—Hydrate and Layer Lightweight Products
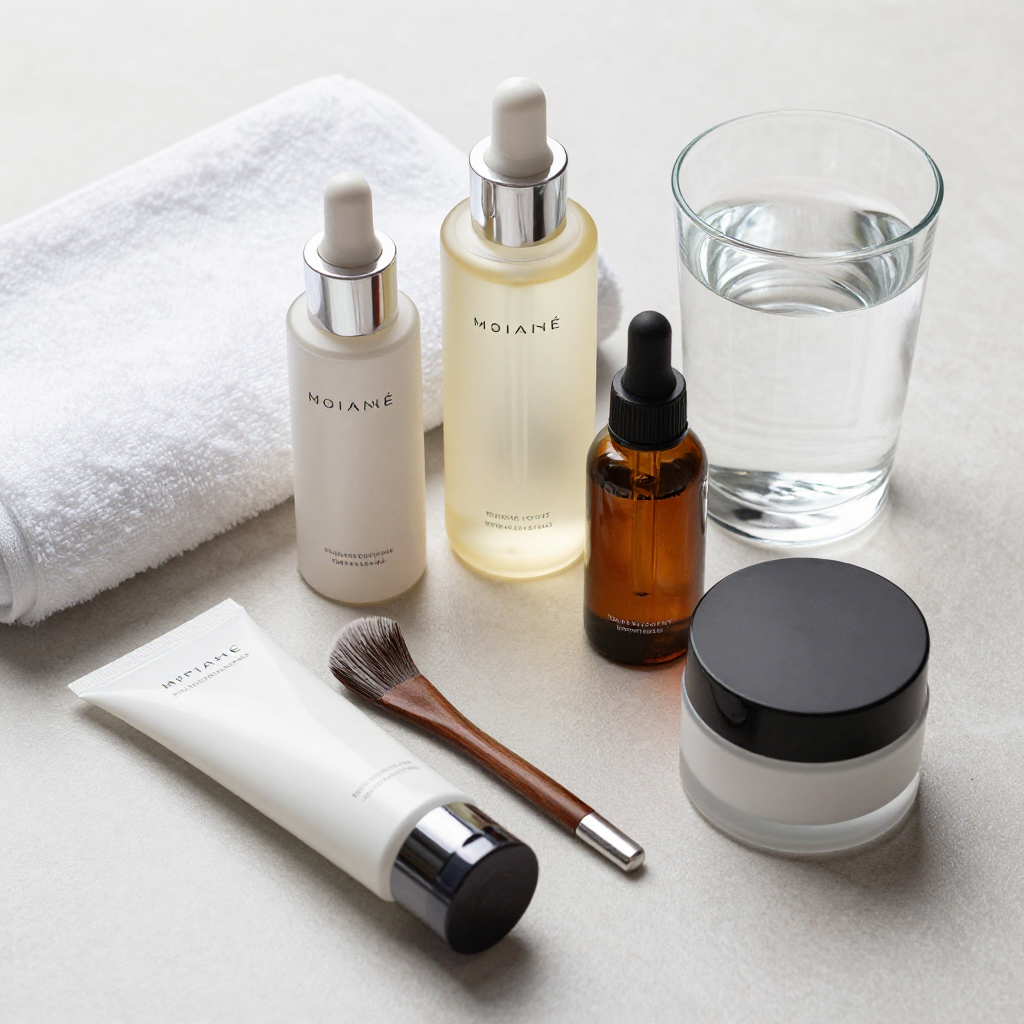
To hydrate and layer products, apply skincare from thinnest to thickest texture. Start with a hydrating toner or essence, follow with serum, and finish with moisturizer so each layer supports a comfortable, dewy finish.
After cleansing, apply a hydrating toner or essence while the skin is slightly damp. Look for humectants such as glycerin, panthenol, or hyaluronic acid, which help attract and hold water in the outer layers of skin. Press the product in with your palms rather than rubbing repeatedly.
Next, use a serum suited to your needs. A simple hydrating serum is often enough for glass skin. If you use an active serum, introduce it slowly and avoid adding several new ingredients at once. One useful rule is the three-question check: does the product hydrate, does it irritate, and does it fit with the rest of the routine? If the answer to the second question is yes, reduce frequency or stop using it.
- Gentle cleanser
- Hydrating toner or essence
- Hydrating serum, such as one containing hyaluronic acid
- Moisturizer
- Broad-spectrum sunscreen in the morning
Allow each layer to settle for a few seconds. You do not need to wait until the skin is completely dry between every product. Too many layers can pill under sunscreen or makeup, so begin with one product per category and add only when your skin needs it.
Step 3—Exfoliate Carefully
To exfoliate carefully, use a mild chemical exfoliant occasionally and stop if you notice burning, persistent redness, or peeling. Controlled exfoliation may improve the appearance of dullness and uneven texture, but over-exfoliation can weaken the skin barrier and reduce radiance.
Leave-on acids such as lactic acid, mandelic acid, or salicylic acid can suit different concerns, but the best choice depends on your skin. Lactic and mandelic acid are often considered gentler options for surface dullness, while salicylic acid can be useful for oily skin and clogged pores. Start once weekly, preferably at night, and follow with moisturizer.
Do not combine multiple exfoliating products in one evening when beginning. Avoid using a harsh facial scrub, exfoliating brush, strong peel, or several active ingredients together. If you use a prescription treatment or have eczema, rosacea, or frequent irritation, ask a dermatologist before adding acids.
Exfoliation is optional. A well-hydrated routine with a healthy skin barrier can create a luminous appearance without frequent exfoliating.
Step 4—Moisturize and Protect
To moisturize and protect, apply a suitable moisturizer and finish every morning with broad-spectrum sunscreen. Moisturizer supports the skin barrier, while sunscreen helps protect against ultraviolet exposure that can contribute to uneven tone and premature visible aging.
Choose the texture according to your skin type. Dry skin may prefer a cream containing ceramides, squalane, or other emollients. Combination or oily skin often feels better with a lightweight gel-cream or lotion. Acne-prone skin can look for non-comedogenic products, although no label guarantees that a formula will suit every person.
In the morning, apply broad-spectrum sunscreen rated SPF 30 or higher as the final skincare step. Use enough to cover the face, ears, and neck, and reapply during extended outdoor exposure, sweating, or swimming. The American Academy of Dermatology Association provides additional guidance on sunscreen use at its sunscreen resource.
At night, sunscreen is unnecessary, but moisturizer remains useful. If your face feels greasy, reduce the amount or choose a lighter formula rather than skipping barrier support altogether. Choosing a lighter texture may improve comfort, though very dry skin may need a richer product during colder or drier weather.
Step 5—Create a Glass Skin Makeup Look
To create a glass skin makeup look, use thin, hydrating layers and place shine strategically. Dewy makeup should enhance the skin’s natural reflection without covering it in heavy foundation or creating an oily appearance.
Begin with sunscreen that has fully settled. Apply a small amount of hydrating primer only where needed, then use a skin tint, sheer foundation, or lightweight serum foundation. Spread it from the center of the face outward and keep the layer thin around the cheeks, forehead, and jaw.
Use a creamy concealer only on redness, blemishes, or under-eye shadows. Cream blush and cream bronzer usually blend more naturally than dry powder formulas when you want a fresh finish. Tap products in with a sponge or fingertips instead of dragging them across the skin.
- Apply liquid or cream highlighter to the tops of the cheekbones, bridge of the nose, and cupid’s bow.
- Set only areas that crease or become shiny, such as the sides of the nose and center of the forehead.
- Keep highlighter away from visible blemishes if you do not want to emphasize texture.
- Finish with a fine facial mist if it works with your makeup, but do not use mist as a replacement for sunscreen.
The most convincing glow usually comes from contrast: a softly set T-zone with luminous cheeks. Heavy shimmer across the entire face can look metallic, while too much powder can flatten the hydrated effect.
Common Mistakes and How to Adjust the Routine
The most common glass skin mistakes are overloading products, irritating the skin barrier, skipping sunscreen, and choosing formulas that do not match your skin type. Simplifying the routine often produces a more even and comfortable glow.
Using too many products at once
People often assume more layers create more hydration. In practice, product overload can cause pilling, congestion, or irritation. Add one new product at a time and assess it for at least several days before changing the rest of the routine.
Over-exfoliating
Frequent acids and scrubs can create temporary smoothness followed by dryness, stinging, and redness. Reduce exfoliation to once weekly or pause it completely until the skin feels calm. Moisturizer and gentle cleansing should take priority.
Skipping or underapplying sunscreen
A routine focused on glow loses an important protection step when sunscreen is used inconsistently. Apply broad-spectrum SPF every morning, even when the rest of the routine is minimal.
Using unsuitable textures
A rich cream may feel comfortable on dry skin but heavy on oily skin. Conversely, a watery gel may not provide enough support for a dry or sensitized barrier. Adjust texture before adding more active ingredients.
Expecting instant, poreless results
Makeup can create an immediate glass skin effect, but skincare changes take time. Hydration may look better within days, while texture and uneven tone often require several weeks of consistent care. Natural pores and skin texture remain normal.
Glass Skin Routine FAQ
Can anyone achieve glass skin?
Most people can create a hydrated, luminous appearance, but no routine can permanently remove pores or natural texture. Skin type, sensitivity, age, climate, and medical conditions affect the final result.
How long does it take to improve skin hydration and texture?
Comfort and surface hydration may improve within a few days to a few weeks. Texture and uneven tone commonly take longer, so judge the routine by steady progress rather than overnight changes.
Is glass skin suitable for oily or acne-prone skin?
Yes. Use lightweight, non-comedogenic-feeling products, avoid heavy layers, and focus shine on the high points of the face. Salicylic acid may help some people with clogged pores, but introduce it gradually.
How often should you exfoliate?
Start once a week with a mild product. Some people tolerate exfoliation up to two times weekly, while sensitive skin may need it less often or not at all. Stop if you experience burning, redness, tightness, or peeling.
Can makeup create a glass skin effect?
Yes. Dewy makeup, cream formulas, thin base layers, and strategic highlighter can create the appearance immediately. Makeup cannot replace cleansing, moisturizer, or broad-spectrum sunscreen, so treat it as the finishing step rather than the foundation of skin health.